Watercolor Runway Cards

I did a review on the new Prima watercolors and decided I would try one of those cards on the youtubes that is just wet water color on wet paper and see what happens.  I used the Tim Holtz Runway stamps and watercolor paper.  I put some patterned paper on the card front and glued on some sequins for a little bit of bling.

This one I used a flesh colored watercolor on the legs, arm, and face with a purple on the dress and hat.  I really like this look with these particular stamps.  The flesh color has harsher lines as it dried then the purple did.

This one I used two different colors of blue, the flesh color, and a brown for what i think is supposed to be a dog......I also added some sequins to the background.  This one turned out differently, of course since it is watercolor on wet paper.  But I like this stamp done in this loose watercolor sort of background with the colors kind of in the right place for a picture. 

Thank you for looking.


Tri Fold Anniversary Card

Over on Artsy Inkers we are having Winterfest 2016 and one of the challenges is named "Surprise your Valentine".  I worked all afternoon on an anniversary card for this challenge.  Do you see where this is going?  I got it all done, took pictures, uploaded them to the computer, resized them for the gallery, and then decided to look one more time at the instructions for the challenge named "Surprise your Valentine".  Then it hit me, one of the perimeters for the challenge is it must be a Valentine's card.......I am still shaking my head over this one, how did this turn into an anniversary card?  So I went and made another one in a Valentine theme.  So this one goes here.

The challenge at Artsy Inkers is here.

DSC 0116

I used a piece of double sided scrapbooking paper for this card.  It has snowflakes on it because the anniversary is in January.  The bellyband is from one side of the cardstock and the outside of the card is from the other side.  The snowflakes on the bellyband are cut from the Tim Holtz snowflake die set.  I put two strips of the paper on either side of the opening because it just didn't look right without them.

DSC 0117

I have this set of stamps that has the itty bitty houses and that once upon a time sentiment stamp.  I thought that would be kind of neat inside an anniversary card.  I colored the itty bitty houses with Derwent color pencils.  I colored the flowers with gel pens.  I stamped Happy Anniversary in archival black ink.  This card is like a shutter and when the card closes the area around the once upon a time stamp gets smaller and smaller like a shutter opening and shutting.  It's really kind of neat.

DSC 0114

Part os the challenge was to also decorate the envelope.  This is the front of the envelope.  I stamped the snowflakes in memento ink and the snowmen in archival black.  I colored some on the snowmen with Derwent colored pencils.

DSC 0115

And here is the back of the envelope.  This is pretty darn nice for an envelope.  I enjoyed making this card and the one in the thread in the link above.  There are also several other of these cards in the Winterfest 2016 gallery album Located Here!  Please look and join into our Winterfest 2016.  And thank you for looking here.

Warm Up Challenge-Layers and More Layers!

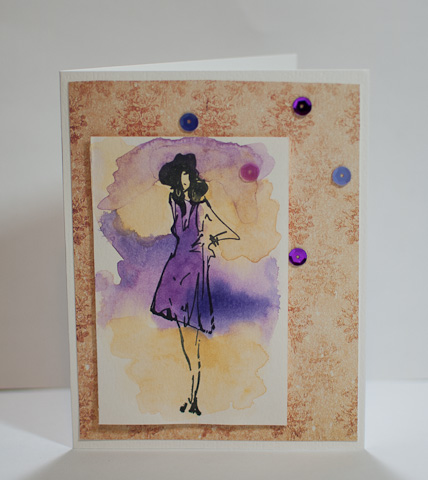
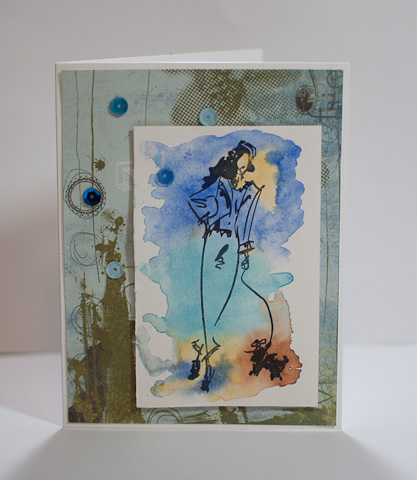
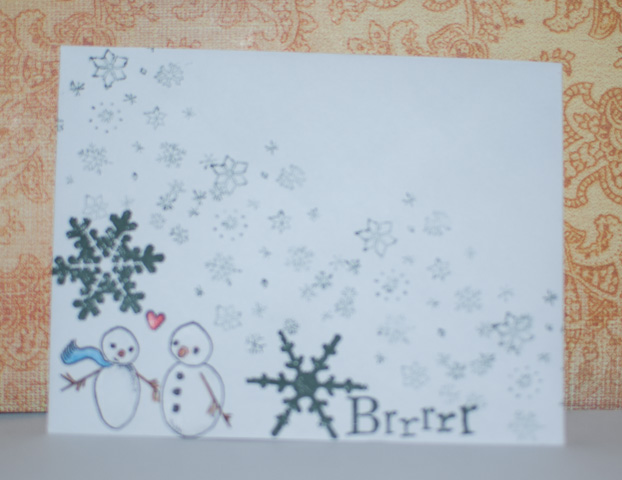
Yes this is exactly what it says, layers on cards. More layers then any card should be made to wear, but it is pretty darn cold here and layers are the way to go.

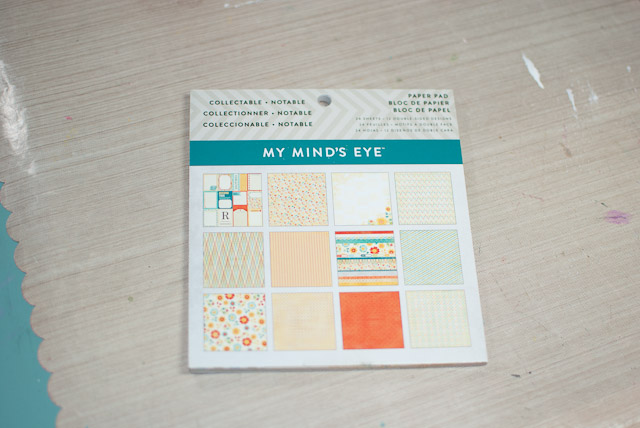
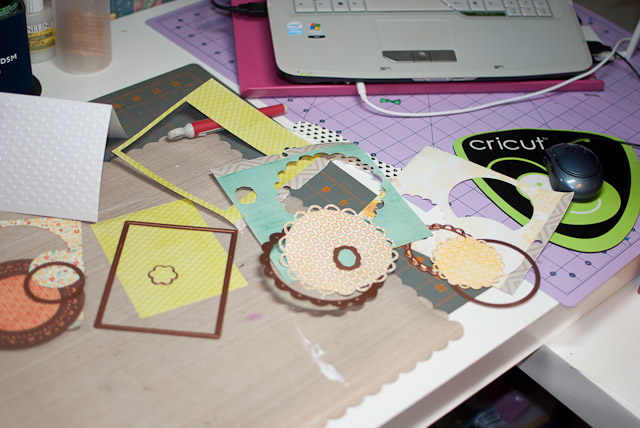
Pick out 10 pieces of paper, hopefully 10 that go together on the color wheel or accent each other in some way. They do not need to be full sheets, they in fact can be scraps. I pulled out a 6 x 6 tablet and used that because most of the time the entire book of paper should be color coordinated. I pulled out My Minds Eye-Notable. This one has strips and itty bitty journaling cards and all sorts of goodness.

DSC 0089

DSC 0090

DSC 0091

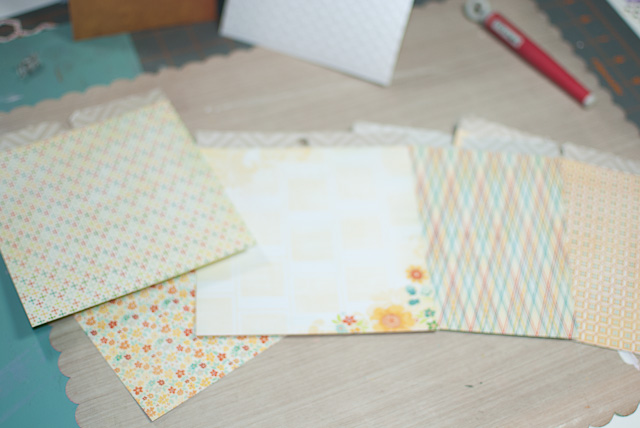
I guess I picked 5 different pages but 10 different patterns since this paper is double sided.  Now to dig out those dies that make shapes.  I have some rounds, some ovals, some squares, and some rectangles.  I picked out a bunch and started die cutting.

DSC 0092

DSC 0093

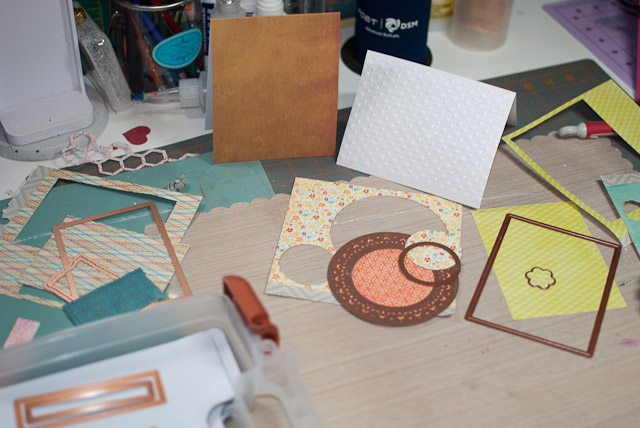
Now there are ten different shapes out of ten cordinating papers.  Next is to lay them out and see how they will work together. 

DSC 0096

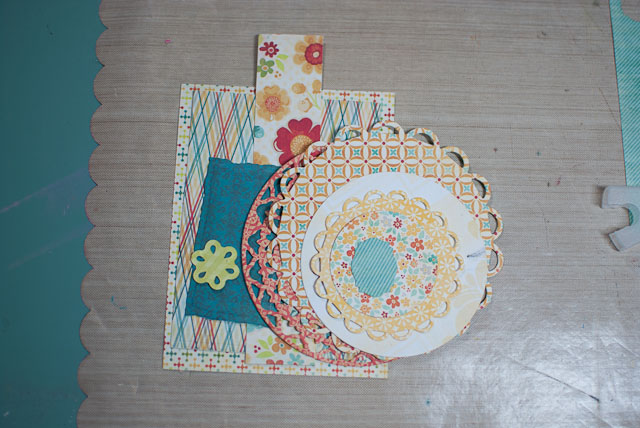
Ok that looks pretty good, I really didn't want to put too much thought into the placing since this is a no thought warm up challenge for the upcoming Artsy Inkers Winterfest 2016.  I took all these shapes and inked the edges with ground espresso distress ink. 

DSC 0097

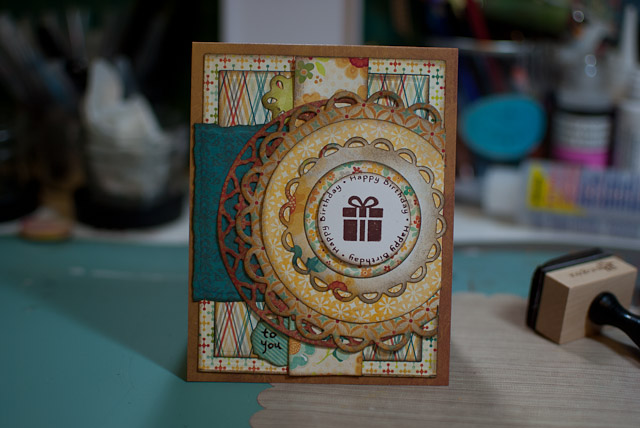
I glued them all down and then cut off the right hand side that hung over the edge of the card.  I stamped a circle stamp that says Happy Birthday for the center and put to you with a brown pen on the itty bitty die cut towards the bottom.  Anyone who is a scrapbooker will sort of recognize this because this layering is used quite often by scrapbookers on pages.  I then got out the stickles glitter glue and went lightly around the outside of each die cut.  I used a clear, a gold, and a brown.  The brown is around the largest die cut only.  The gold is also on the present. 

DSC 0098

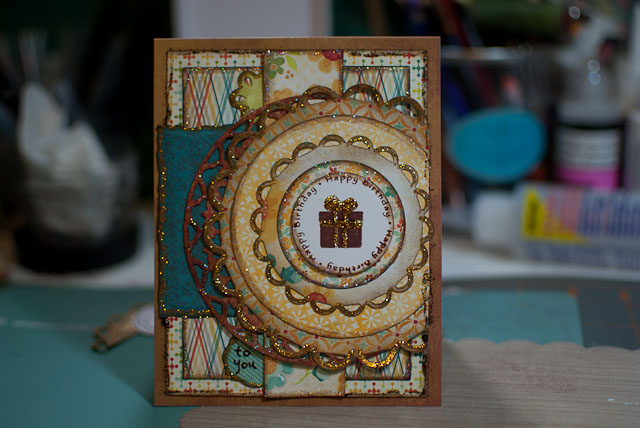
This turned out pretty nice and was a good warm up that didn't really take all that much thought.  I hope you join in on this warm up challenge and also join us on Artsy Inkers for Winterfest 2016 starting next weekend.  Thank you for looking.

Login Form