Inside, Outside, and a Surprise Challenge - Artsy Inkers
- Details
- Created: Wednesday, 27 January 2016 21:37
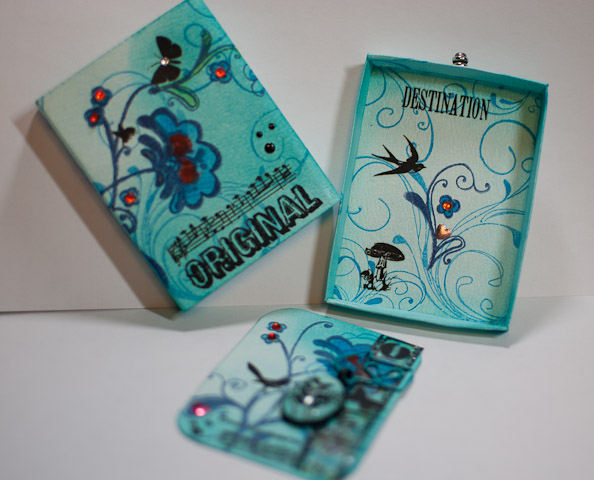
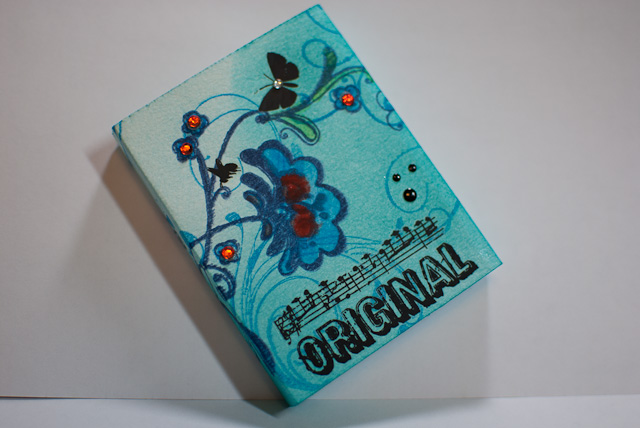
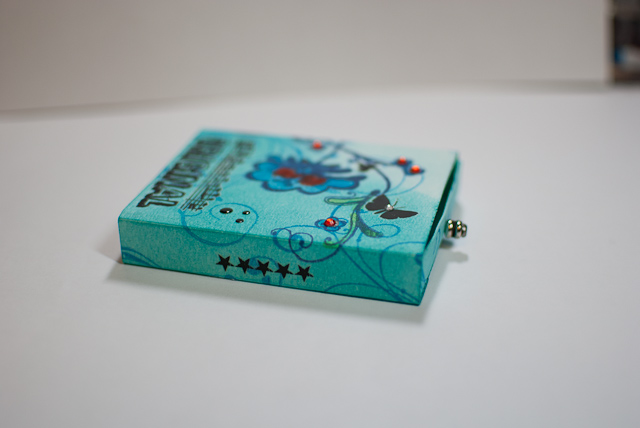
Another challenge on the Artsy Inkers Message Board offered by Far North is a small box with a drawer and a surprise in the drawer. I went to Far North's blog for the instructions as per the challenge which is here. I cut a piece of watercolor paper to the sizes listed here. I cut the drawer, the box, and an ATC from the watercolor paper. I scored the lines as listed in the directions. Then I set about decorating the three pieces. I used tumbled glass distress ink with peacock feathers distress ink on the top. I used a Tim Holtz round blending tool. I used some technique tuesday stamps, they are pretty old now; they are swirls and I have four different sets of these wonderful stamps. I used some from each set. I stamped them using true blue archival ink, a color they no longer sell. Then I used a Basic grey stamp set and stamped the swirly flower in cobalt archival ink, I don't think this one is available anymore either. I colored in some of the flowers using Sakura Koi water colors and a waterbrush. I then put the box and drawer together. I attached a silver bead with a brad to the outside of the drawer for a pull.
Now it was time to embellish....first I took out some Tim Holtz rubons that I had bits and pieces of and used some of those. The butterflies the birds, the bee, the music, the words, and the toadstools are all rubons. I then used my hotfix tool and attached the black dots and jewels which are irock.
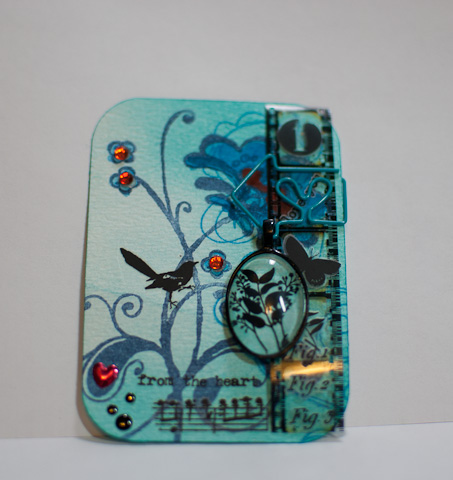
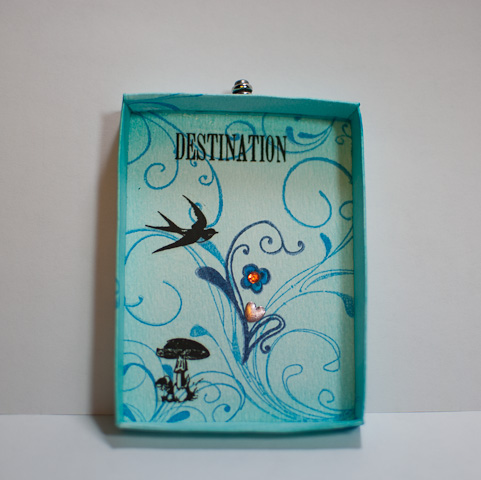
For the ATC I added some Tim Holtz film strip ribbon along the right hand side. I added a heart paper clip to hold the filmstrip. I then decided that the filmstrip needed something so I added some rubons to the place where pictures should be. I then made a charm using the same paper with the same colors and another rubon. I added a glass front on the bezel with the paper with the rubon behind it and glued it on with Diamond Glaze. I attached it to the ATC on the paper clip.
The back sides, the undersides, and the insides are all also finished with the distress ink. The entire outside of the box is inked and stamped as is the drawer. The ATC is inked and stamped front and back but only embellished on the front. The box is not embellished on the bottom and the drawer is not embellished on the bottom.
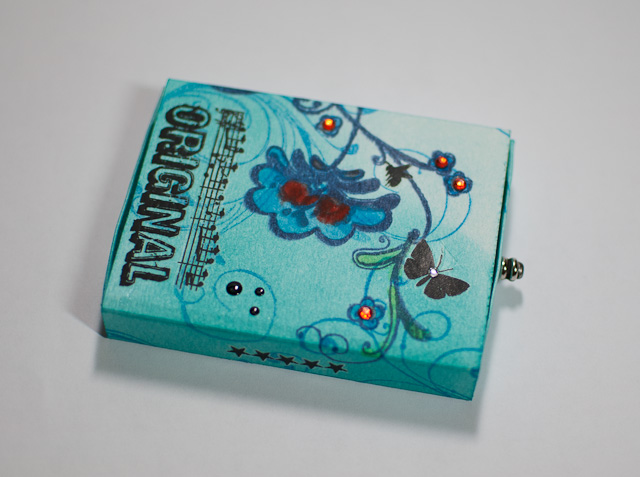
This is the finished project put together with the drawer in the box and the ATC in the drawer.
Thank you for looking.