Mixed Media Cavas #2

I decided to make some personal things, projects that I have made for the grandchildren this year for Christmas.  This is actually the second Mixed Media Canvas, I haven't uploaded the first one yet.

To start I took a canvas and coated it with white gesso using a credit card (you know one of those nice plastic ones they send you wanting you to actually use it and activate it), I used the credit card because it is easier to get smooth base coat using the credit card instead of a brush.  When I use a brush I get brush marks which them show up in the paint coat.  I would just as soon only get brush strokes from the paint coat and not both the paint coat and the gesso.

This canvas I used neocolor II on and lots of water.  This was of course once the gesso was dry.

MixedMediaCanvas1

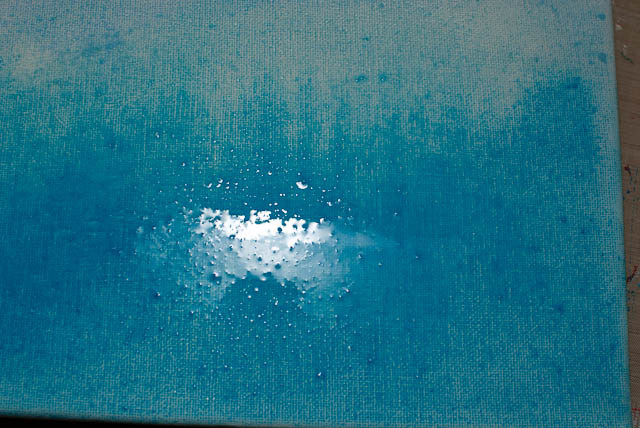
You can tell by how shiny this picture turned out that I used quite a bit of water on a large soft brush to blend and move the neocolor II around. 

MixedMediaCanvas2


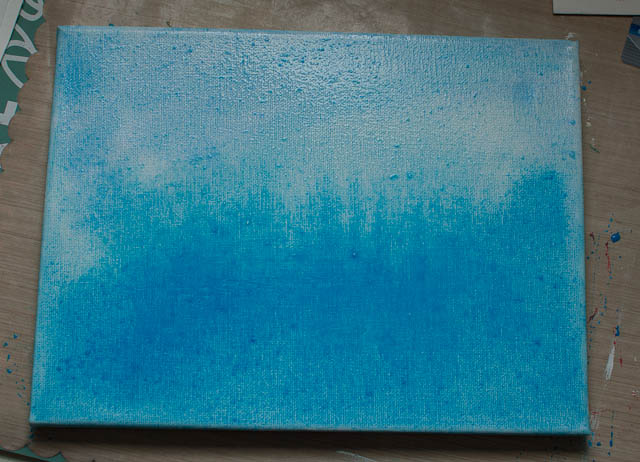
This is the dry canvas ready for decoration.  I knew the saying that was going on this canvas and I had found the picture I was going to use and printed it out on the laser printer and let it dry so the picture would not run.  For the saying I used Tim Holtz alterations alphabet die and cut and cut and cut to get all the letters in the saying.

MixedMediaCanvas3


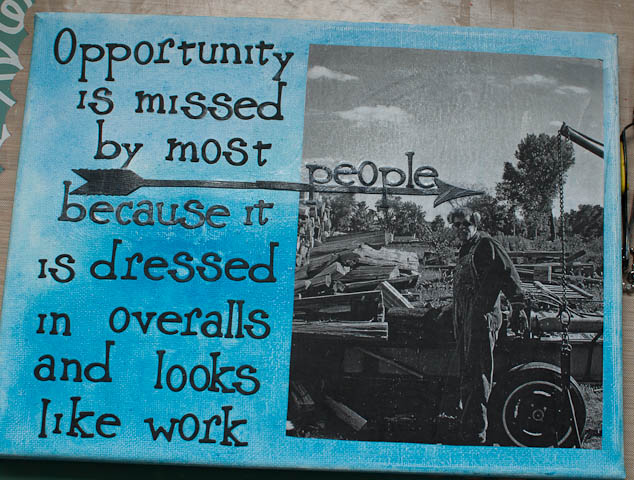
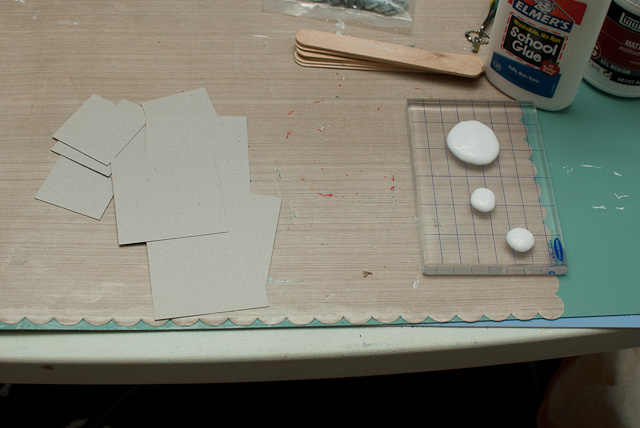
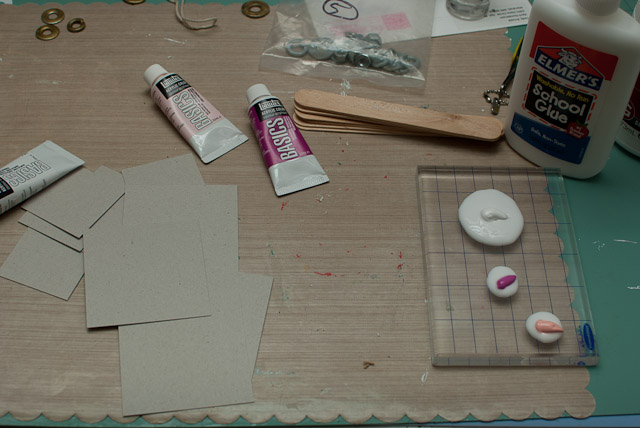
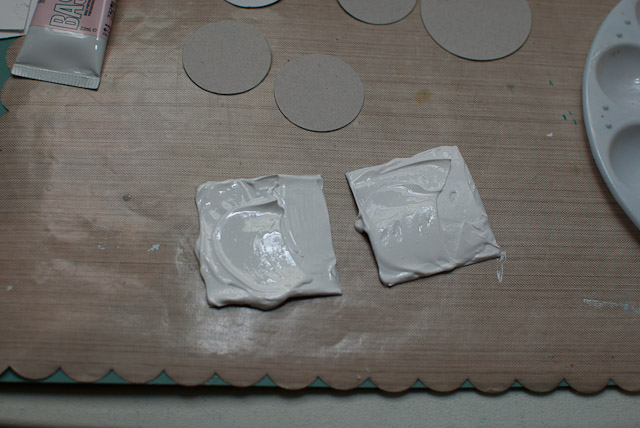
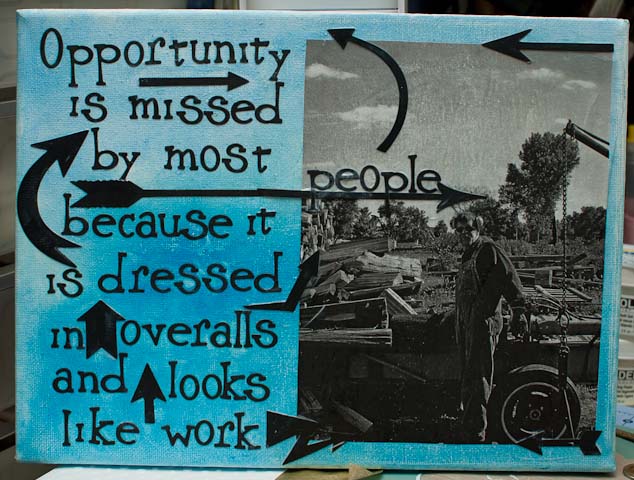
I used mat gel medium to glue the letters down and tried to get them as even as I could.  I had to make two arrows and cut ends off and glue them together for the long arrow that holds the word people.  The saying just wouldn't fit without the arrow.  So I cut out a whole bunch more arrows and put those on too.

MixedMediaCanvas4


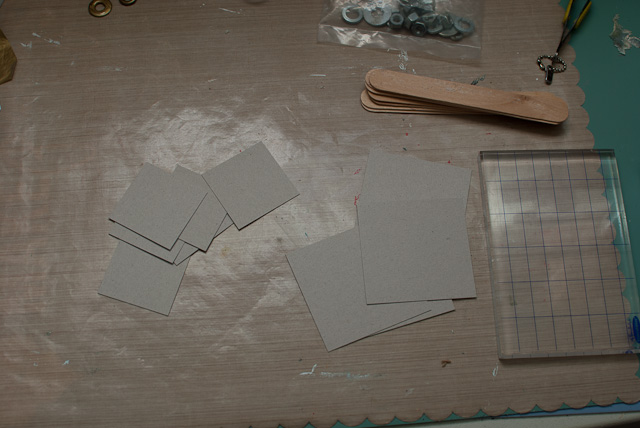
I wanted washers that had embossing powder on them so I heated up the melting pot, put a craft liner in, threw in some washers and some different color embossing powder just to see what I got.  As I was doing the washers some of the embossing powder went outside the washers so I peeled that up when it was dry and also put that on.  I glued the washers and dried embossing powder down with matt gel medium. 


MixedMediaCanvas5


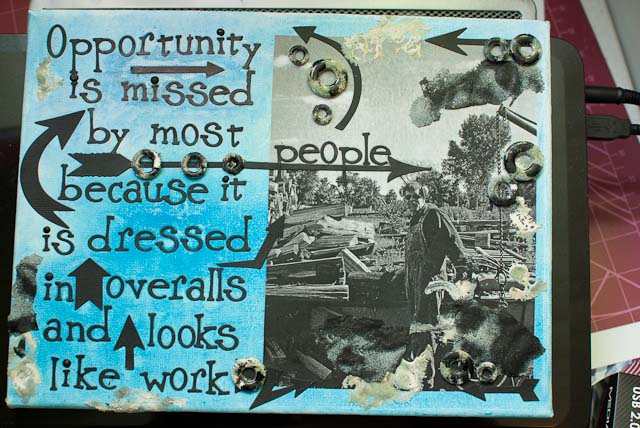
And here is the final project.  Of course it looks much better in person than the pictures I take.  Someday my pictures will be better, promise!

White Glue And Acrylic Paint

Welcome to playing with White Glue and Acrylic Paint Fun!

Mixed Media is often described as using 2 or more mediums on a project. Those mediums can be anything, ink, paint, embossing (dry or heat), gels, gesso, modeling paste, metallic, papers, and different embellishments. Welcome to Mixed Media.

For this Mixed Media fun you will need some sort of white glue, at least 3 colors of acrylic paint and some chipboard (like the back of a tablet or a cereal box). We are going to make abstract tiles, circles, or anything else you want to attach to a project. I used Elmer’s white school glue but the YouTube video I watched showing how to do this used Aileen’s white tacky glue. So I am thinking any white runny type of glue would work. You will also need a nonstick craft mat or some wax paper to work on. Craft sticks that look like popsicles sticks work well for the base coat. You will also need toothpicks or a tweezers with a pointed end.

Cut the chipboard into squares or circles or whatever shape you want to work with in your final project. I used a 3 x 3 square for the first tile I made. The second group I cut circles and did a tag, a washer, and a couple of frames.

Challenge1

I used a white background (yes you need to add white paint for the white to actually be white when you are done) and two colors of pink. I used Liquitex Basics but I would imagine that any acrylic paint would work. You mix a larger amount for the background color and smaller amounts for the accent colors.

Challenge2

Challenge3

I used a stamp block the first time which was not a good idea since now my stamp block is discolored from the glue. The second time I used a paint pallet with a larger part for the background and smaller amounts for the accents. The second group I used white for the background and silver and blue for the swirls. You need to cut the chipboard to whatever final shape you want before applying the glue and paint because the chipboard with the glue and paint will not cut with a punch when it is dry.

You take the background color and slather it on your chipboard going out to the edges.

Challenge4

Challenge5

Challenge6

A craft mat or a piece of waxed paper will work well to lay it on. After you get a goodly amount of base on lay it down and take a toothpick or tweezers and drizzle the colors onto the background. After you have both colors drizzled onto the background take a clean toothpick or tweezers end and swirl through the colors making a pretty combined pattern. When it looks good to you put it aside to dry. It will take a good 24 hours to dry. I found that the chipboard dried much faster than the entire cardstock tag I used.

Challenge8


As the glue starts to dry the chipboard will curl up, I just moved it around with my tweezers until it stayed down.  I am not sure if you really need to move it around or not but I didn't want the edges to stick to the mat and look funny when it dried.

Challenge9


Starting all over with the blue and silver.  This is before I swirled the paint around.

Challenge10

Challenge11


Here is the blue and silver all swirled and ready to dry and become beautiful works of art.

Challenge12


Here is a close up of the blue and silver circle wet and curly.  It looks like globs of glue but it dries sort of flat.

Challenge13


I had enough glue mixed up that I decided to go ahead and use some things laying around on my work area.  So I coated a tag, washer, and 2 frames.

Challenge14


Here is a close up of the tag which is plain white cardstock.  This tag ended up taking the longest time to dry.  I am not sure why unless it was just a larger area to dry.


So there you have it, using regular household glue and any kind of acrylic paint to make mixed media objects.  I assume that if you use gloss paint your objects would be glossier and if you use matt paint you will end up with matt objects.  Mine turned out matt and I gave them a thin coat of floor wax (another household item) to shine them up a bit.  If you happen to have some gloss gel that would work for a shiny top coat too.  And here are the final projects from this little exercise in white glue and acrylic paint.

FinishedBlueTag

FinishedBlueCard

FinishedPinkCard


Login Form