a44c66fb8b0c089a24ca633f10a568a1

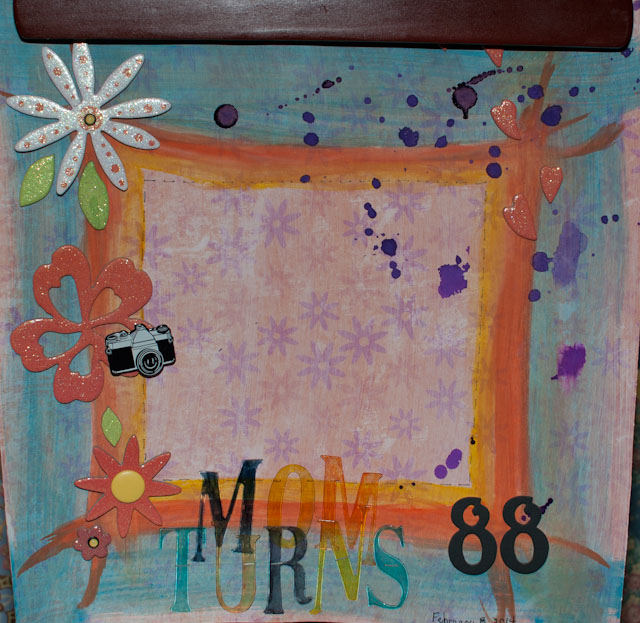
Another February 2014 Birthday

This page is another attempt at atsy and it turned out really outragously bright.  I used acrylic paint, acrylic letters, premade chipboard elements, and I just about threw the kitchen sink at the page.  I am not even going to justify what all I did to this page, just look at it and glory in the idea that you would never share this page with the worldwide web like I have done.....LOL!

After I put the pictures on the page it really does look like an 88 birthday celebration but as it sits it doesn't look quite as good.  Anyway here it is another step on my artistic scrapbooking journey.  Aren't you glad you are along on this journey?

  birthdaypage2

Happy February Birthday 2014

This is another attempt at artsy.  The wooden stars in the corner, the blue arrow, and the smily face are all Freckled Fawn.  The circle with the snowflakes stamped on it is a piece of chip board that I inked blue and then stamped.  I stamped on the gray piece of paper on the left with white ink.  I journaled on the computer and printed it out on blue cardstock and mattted it with black cardstock.  The 2014 at the bottom, the trees, and the snowmen are stamped.  The snowmen have glitter glue which makes them somewhat shiny.  The adventure card was in a pack of journaling cards for a smashbook and has twine tied around that is hooked with the smily face.  The February on the top is stamped and glittered.

The picture goes in the center of the blue circle.  I do not post pictures of my family on the internet so you will just need to imagine a smiling birthday person there.

birthdaypage


Happy January Anniversary 2014

I did this anniversary page to commemerate our 40th Wedding Anniversary!  Then I have taken several different pictures to go on it but I haven't liked any of the pictures so it is in my album but minus the pictures.....

On the background I used a Tim Holtz embossing folder as a stamp.  I opened it up and put distress ink on the raised or front of the embossing folder and then held it awkwardly to stamp.  I reinked it several times to cover the entire background.  The paper strip on the left hand side I hand tore and then inked.  The black doily is cut using the Martha Stewart circle edger system.  I used modeling paste on the snowflakes big and small to add dimension.

The Happy Anniversary on the bottom is stamped and then gone over with gloss gel with acrylic paint added for shine and dimension.  The Happy Anniversary and the date are cut with an alphabet strip die.  The folder edge is a piece of paper from the scrap bin that was cut using a folder edge die.  The snowflakes in the corners are made using a snowflake punch.  The love circle is a stamp that is then cut out with a circle punch.

This is one of my pages that I tried to get artsy with and am not sure whether I actually succeeded or not.  But that is the thing with art you just need to keep trying different things to decide what you like and what just doesn't work for you.        

anniversarypage1

More Articles ...

  1. Welcome 2014

Login Form